
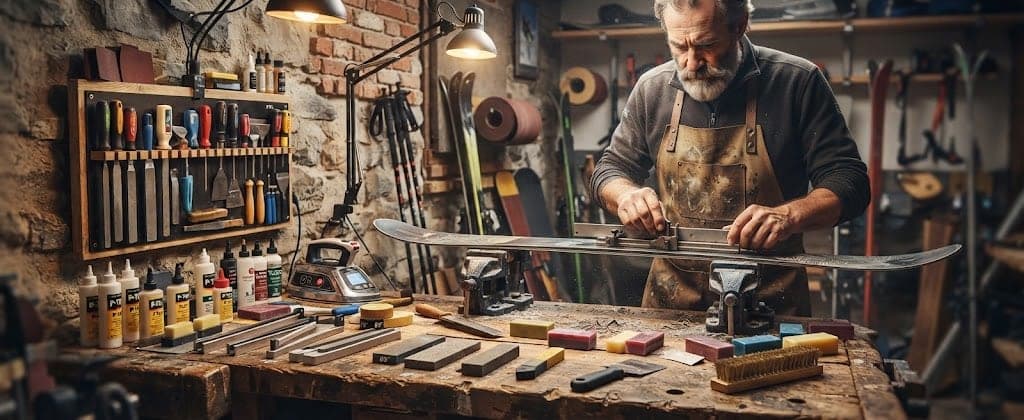

Well-maintained gear slides better, grips better and lasts years longer. And even so, before the tool list there's a question almost no guide asks: should you be doing this yourself? For a lot of people the honest answer is no, or at least not all of it. This guide covers both: which tools exist and what each is for, and at what point setting up a workshop at home beats leaving it with a shop.
In short: the order is always repair the base, then the edges, and finally wax — never the other way round. Side edges go between 88° and 90°, and the base between 0° and 1°. If you're only going to do one thing at home, make it waxing: it's the easiest, the most rewarding and the most noticeable. Edges, at least the first few times, are better left to a shop.
Should you be doing this yourself?
The sums are simple and worth doing before you buy anything.
A basic waxing set — wax, iron, scraper and a brush — costs about the same as two or three shop waxes, so it pays for itself in the first season if you ski with any regularity. Adding edge tuning is another story: the angle guide, files and stones add considerably more, and above all they add the risk of ruining your gear.
Our practical recommendation:
- If you're out a few days a year: nothing. One full service at a shop at the start of the season and off you go.
- If you're out regularly: set up the waxing kit at home and leave the edges to a shop.
- If you're out a lot, look after your gear and enjoy the process: then yes, the full set. But learn edge tuning with someone who knows, or on an old board.
A badly filed edge can't be undone: every pass of the file removes steel that doesn't come back, and a badly cut angle has to be corrected by removing even more material.
What order is the work done in?
This is what's most often missing from tool lists, and what ruins the most home jobs. The sequence is always the same:
- Repair the base. First, because afterwards you have to level whatever stands proud.
- Work the edges. After the base and before the wax, because filing over a waxed base drags wax into the file and clogs it.
- Wax.
- Let it cool completely.
- Scrape.
- Brush.
Skipping the order costs you: waxing before filing means doing the job twice, and scraping before the wax has cooled leaves the base dry where you thought you'd protected it.
Repairing the base
Surface scratches do nothing. What needs repairing are cuts deep enough to be visibly so or that expose the fibre: that's where water gets in and the damage progresses.
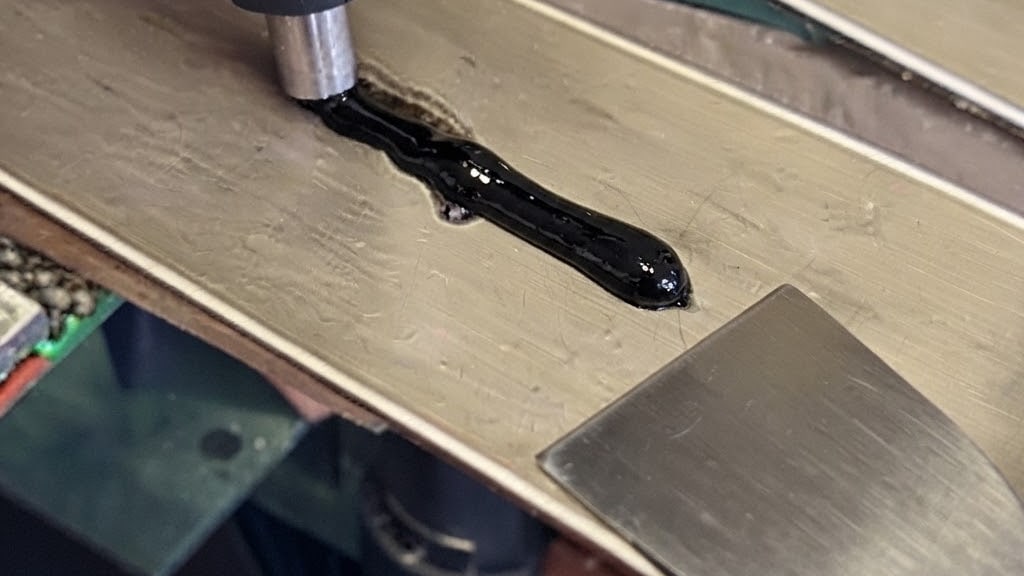
- P-Tex: the traditional repair plastic, in stick form. You melt it and let it fall into the gouge to fill it. It handles the vast majority of damage.
- Metal-grip material: the version for deeper damage or where P-Tex doesn't bond well, with better adhesion.
- A repair gun or base welder: the clean way to melt and apply the material. A lighter will also melt the stick, but it burns the plastic and leaves a black, porous repair that falls out before long: if you're going to repair it, use the tool.
- A metal scraper: to level the excess once cold, taking it flush with the base.
What can't be repaired at home: a cut reaching the core, delamination, or a lifted edge. That's workshop work.
The edges
This is where judgement shows most, and where it's easiest to ruin something.
An edge has two faces: the side and the base. Each is worked at a different angle and with different tools.
- Side edge: between 88° and 90°. Ninety degrees is the "square" factory edge; a lower angle is more aggressive and grips better on hard snow, but is also more delicate and harder to maintain. For normal use, 89° is a very sensible point.
- Base edge: between 0° and 1°. That degree of bevel moves the edge slightly away from the snow and makes the board or skis far more forgiving: they catch less. Zero degrees is the grippiest and the least forgiving.
The tools:
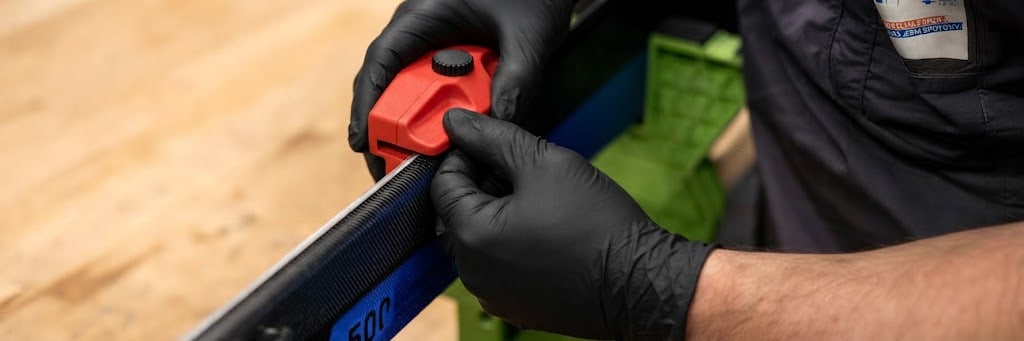
- A side edge angle guide (and its base equivalent). It isn't optional: freehand, nobody holds a constant angle, however steady their hand.
- A metal file, to remove material and reset the bevel. It's what corrects a worn or damaged edge.
- Diamond stones, to polish and refine after the file, and for maintenance between tunes. They're numbered by grit: 100 is coarse and 1200 very fine, and you work from coarser to finer.
- A gummi stone, to remove the burr the file leaves.
In most cases you don't need to file at all: running a fine diamond stone is enough to bring the edge back. The file is for when there are nicks or the edge is badly beaten up.
Detuning tip and tail. A detail that surprises people: on snowboards and many skis it's worth deliberately dulling the edge over the last few centimetres of tip and tail with a stone. That section of edge contributes no useful grip in a turn and does catch, especially at low speed. It's the first thing a shop does to a beginner board.
Waxing
The easiest, the most rewarding and the thing you genuinely notice. An unwaxed base dries out, goes chalky at the edges and slides progressively worse.
The wax is chosen by snow temperature, and it's marked on the packet:
- Cold, for hard snow and sub-zero temperatures.
- Medium or universal, which is what 90% of people need 90% of the time.
- Warm, for spring snow, which is a good part of the season in Sierra Nevada.
If you're only going to own one, make it universal.
On fluorinated waxes, something has changed and it's worth knowing before you buy: long-chain fluorocarbons are restricted, the FIS and IBU have banned them in competition, and France prohibits manufacturing, importing and selling ski waxes containing PFAS from 2026, with a Europe-wide restriction under discussion. In practice the market has moved to fluoro-free waxes, and for recreational use there's no reason to look for anything else.
The tools:
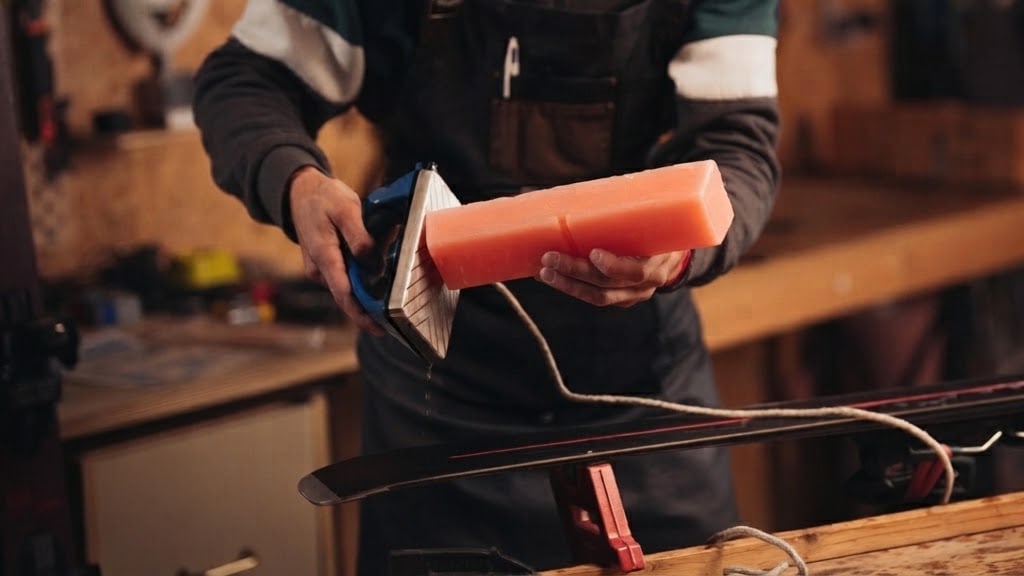
- A waxing iron, and here's the most important warning in this section: don't use a clothes iron. It doesn't have the temperature precision needed, and the steam holes leave the wax uneven. A base burnt by excess heat doesn't come back. Work at the temperature the wax specifies, keep the iron moving and never pause in one spot, and ventilate the room.
- A plastic scraper, to remove the excess once the base is completely cold — wait at least half an hour. Work tip to tail, and take off more wax than you think you should: the wax that works is the wax that has penetrated, not the wax sitting on top.
- Brushes, to clear surplus out of the base structure and polish. Copper or brass are the most aggressive and are used to open up the structure; nylon and horsehair are progressively softer and are kept for finishing. If you're only going to own one, make it nylon.
Liquid wax is the quick alternative: apply, let it dry, brush, no iron. It's convenient and works perfectly well for a top-up mid-trip, but it penetrates less and lasts far less than hot wax. As a supplement, very good; as a permanent substitute, the base suffers over time.
When each job is due
| Task | How often |
|---|---|
| Waxing | Every 3-5 days of use, or when the base looks chalky. |
| Diamond stone on edges | Every few outings, to maintain the edge. |
| File on edges | Only when there are nicks or real wear. |
| Base repair | As soon as a deep gouge appears, without waiting. |
| Full service | At the start of the season. |
| Storage wax | At the end of the season, thick and unscraped. |
Mistakes and safety
- A clothes iron. Repeated deliberately: it's the most common way to ruin a base.
- Scraping hot. The wax has to cool and harden so what's left is what penetrated.
- Filing without a guide. You get a different angle on every pass.
- Over-filing. The steel in an edge is finite, and when it's gone, the board is gone.
- A freshly tuned edge genuinely cuts. Be careful handling and storing it, and don't leave metal filings on the table.
- Ventilate. Hot wax gives off fumes; don't wax in a closed room.
The minimum to get started
If you want to build the smallest kit that's actually useful, this is it:
- Universal wax.
- A proper waxing iron.
- A plastic scraper.
- A nylon brush.
- A fine diamond stone, to maintain the edge between shop visits.
- A P-Tex stick, to fill a gouge when one appears.
That covers 90% of what gear needs over a season, and what's missing — real edge tuning and serious damage repair — is done better and cheaper by a shop.
Quick checklist
- Base first, then edges, then wax. Always in that order.
- Side 88°-90°, base 0°-1°, and always with an angle guide.
- Diamond stone to maintain; file only to correct.
- Universal wax if you're only going to own one, and fluoro-free.
- A proper iron, never a clothes iron.
- Scrape cold and brush afterwards.
- And before buying anything: if you're out a few days a year, the shop works out cheaper.
Maintenance holds no mystery, but it does have an order. Gear waxed every five days with the edge touched up with a stone will perform better than gear that visits a workshop once a year, and that's within anyone's reach with four tools and half an hour.